I get a lot of clients that contact me to ask about my Lab Recovery service. Most have been told by another recovery professional that their drive requires a clean room in order to replace bad heads. In my experience only about 15-20% of drives that come in require a clean room recovery. Most are recoverable under our Standard or Standard+ tiers.
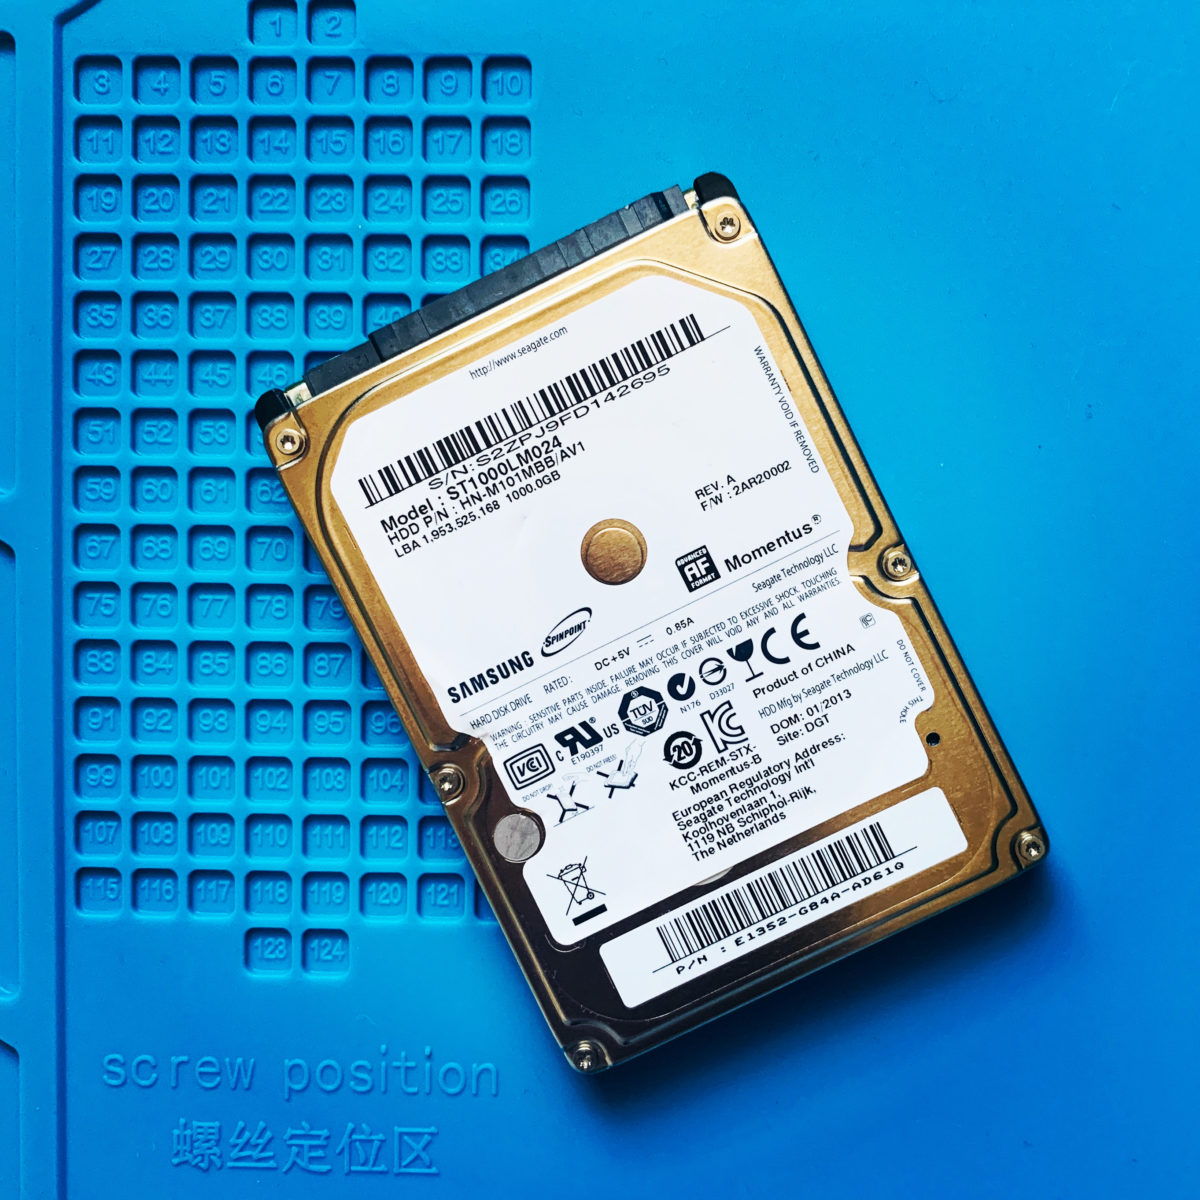
Samsung ST1000LM024 Recovery
This drive belonged to a client who has been working with another recovery company for a while. They had been told that a drive with the symptoms this drive had would need a “head swap” to function again.
Spin up, spin down drive symptom
When plugged into power, the drive would spin up, seek for a while (sounds like light clicking), then spin back down. It would not be recognized by any computer at all.
This Samsung drive came to me with 4 issues present:
- Bad sectors
- Weak heads
- Firmware corruption
- Partition corruption.
The two main issues were the bad sectors present on the drive and the weak heads. Often times bad sectors and weak heads will cause firmware corruption as well as partition corruption.
While it is true that bad heads do cause these same symptoms (spinning up, clicking, then spinning back down), there are many cases where the issue does not require a head swap and the data is recoverable under our normal Standard service.
Starting the recovery
I started by fixing the firmware corruption on the drive using my PC-3000 by Ace Labs. Once the firmware issue was addressed I was able to access the data on the drive and run tests on the drive heads.
This Samsung is an ST1000LM024 model has 4 heads inside. If you are interested in learning more about the internal parts of a drive like the drives heads, please visit out page, all about hard drives, to learn more.
I found during testing that 2 out of the 4 heads were weak so I started by imaging the 2 drive heads that were functioning properly. I was able to image 100% of these two heads which means I had 50% of the drive recovered.
Getting all the sectors imaged
Once that part of the recovery was complete, it was time to see how the weak heads would perform. I am able to set exactly how I want to extract data, so you start with settings that do not stress the weak heads and skip over areas where it seems to be having trouble. This part of the imaging can take a lot of time and a lot of tweaking the imaging settings.
In this case both of the weak heads were strong throughout most of the drive and I had recovered 90% of the drive without the heads acting up more. I was hoping the heads would continue to function enough to get the last 10% of the data so a head swap would not be necessary.
After a little more tweaking of imaging settings I was able to get every sector that was in use on the drive! Now that the sectors have all been imaged, it is time to check the integrity of the data stored on the drive.
Recreating the partition to recover folder structure
At first there was no partition present. This is pretty common with data recoveries because the drive usually starts having issues and causing corruption prior to stopping working all together. Once I scanned the first 10% of the drive with software that rebuilds the partition, all the folder structure was visible and looked good!
Moving the data to a new drive and returning to client
Once the folder structure was present and files were opening properly, I moved all the data over to the new hard drive that the client had provided. Note that we do offer external hard drives for sale if you don’t want to provide your own, but we are happy to use a drive you provide to store the recovered data.
This recovery took just under 24 hours to complete and get back to the client. It fell under our Standard recovery Tier and the client seemed very happy to have saved a lot of money and time.
If you would like me to work on your recovery project, please feel free to contact us or fill our our contact form below. Thanks for reading!

